

The Ultimate Guide: How to Make Vegeta Armor
Attention all Dragon Ball Z fans! Have you ever wondered how to bring your cosplay game to the next level? Well, look no further because today we're going to dive into the intricate process of making Vegeta's iconic armor. Whether you're gearing up for a convention or simply want to unleash your inner Saiyan, this guide will provide you with all the steps you need to create your own impressive Vegeta armor.
Step 1: Gather Your Materials
Before you embark on this epic DIY project, it's important to gather all the necessary materials. Here's what you'll need:
- Cardboard
- Craft foam sheets
- Scissors
- Glue (hot glue or fabric glue)
- Acrylic paint (blue, white, and gold)
- Paintbrushes
- Elastic straps
- Variety of paintbrushes
Once you have all your materials ready, let's move on to the next step!
Step 2: Design and Measurement
The key to creating an accurate Vegeta armor replica is getting the design and measurements right. Start by finding reference images of Vegeta's armor from different angles. Pay close attention to the details, such as the shape of the chest piece, shoulder pads, and belt buckle.
Once you have a good understanding of the overall design, take your measurements. Measure your chest, shoulders, and waist to ensure that the armor will fit snugly and comfortably.
Pro tip: It's always a good idea to add a few extra inches to your measurements to allow for movement and adjustments during the construction process.
Step 3: Creating the Base
Now that you have your design and measurements, it's time to create the base structure of the armor using cardboard. This will serve as the foundation for your armor's shape.
Begin by cutting out the main chest piece. Use your reference images and measurements to guide you. Once you're satisfied with the shape, cut out two shoulder pads and a belt buckle.
Next, use hot glue or fabric glue to attach the shoulder pads to the chest piece. Make sure they are positioned correctly and securely. Attach the belt buckle at the bottom of the chest piece.
Once everything is securely glued, try on the base structure to ensure it fits comfortably. Make any necessary adjustments before moving on to the next step.
Step 4: Adding Detail with Craft Foam
Now comes the fun part - adding all the intricate details that make Vegeta's armor so iconic! Take your craft foam sheets and cut out smaller pieces to create the layered look of the armor.
Start with the shoulder pads. Cut out smaller foam pieces in various shapes and sizes to mimic the layered design. Attach them to the shoulder pads using hot glue or fabric glue.
Repeat this process for the chest piece and belt buckle. Cut out foam pieces that resemble the raised sections of Vegeta's armor and attach them to the base structure.
Remember, attention to detail is key here. Take your time and refer back to your reference images to ensure accuracy.
Step 5: Painting and Finishing Touches
With the structure and details complete, it's time to bring your Vegeta armor to life with paint! Start by applying a base coat of blue paint to the entire armor. Let it dry completely before moving on.
Once the blue base coat is dry, it's time to add the white and gold accents. Use a smaller paintbrush to carefully paint the edges and raised sections of the armor with white paint. This will create a crisp and clean look.
Finally, use gold paint to highlight certain areas and add a touch of elegance to the armor. This could include the belt buckle, shoulder pad edges, or any other areas you feel need an extra pop of color.
Allow the paint to dry completely before handling or wearing the armor. You can also apply a clear sealant to protect the paint and give it a glossy finish.
Step 6: Adding Straps for Wearability
To ensure that your Vegeta armor stays securely in place while you're cosplaying, it's important to add elastic straps. Measure and cut two elastic straps for each shoulder pad and two longer straps for the chest piece.
Use hot glue or fabric glue to attach the straps to the backside of the armor. Position them in a way that allows for easy wearability and adjustability.
Once the straps are securely attached, try on your Vegeta armor and make any necessary adjustments. It should fit comfortably and snugly without restricting your movements.
Step 7: Showcase Your Creation!
Congratulations! You have successfully created your very own Vegeta armor. Now it's time to showcase your incredible craftsmanship at conventions, cosplay events, or even just in the comfort of your own home.
Remember, cosplay is all about having fun and expressing your love for your favorite characters. So wear your Vegeta armor with pride and embrace your inner Saiyan warrior!
If you're looking for more Dragon Ball Z-themed merchandise to complete your cosplay or add to your collection, be sure to check out the DBZ Store. They offer a wide range of officially licensed Dragon Ball Z products, including clothing, accessories, figurines, and more!
So what are you waiting for? Get ready to unleash your Saiyan power with your very own Vegeta armor! With a little creativity and dedication, you'll be ready to take on any challenge that comes your way.
Best Sellers
-

 Original price $37.98 - Original price $37.98Original price$37.98$37.98 - $37.98Current price $37.98
Dragon Ball Z - Vegeta Badman Shirt
In stockVegeta the Prince of Saiyans wearing a pink shirt? How is it possible? Bulma is really cheeky! Anyway, unlike a combat outfit, this Vegeta Badman S...
View full detailsOriginal price $37.98 - Original price $37.98Original price$37.98$37.98 - $37.98Current price $37.98 -
 Original price $36.99 - Original price $36.99Original price$36.99$36.99 - $36.99Current price $36.99
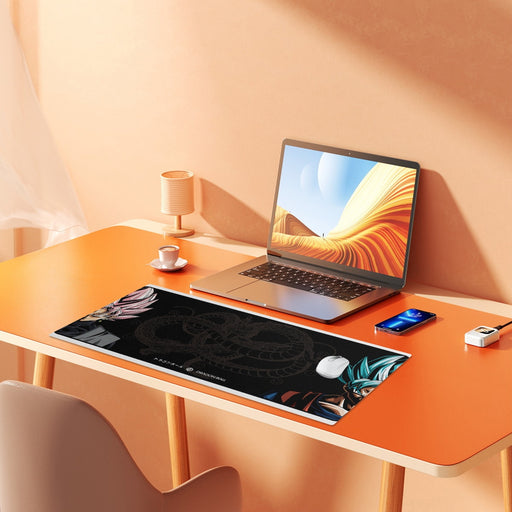
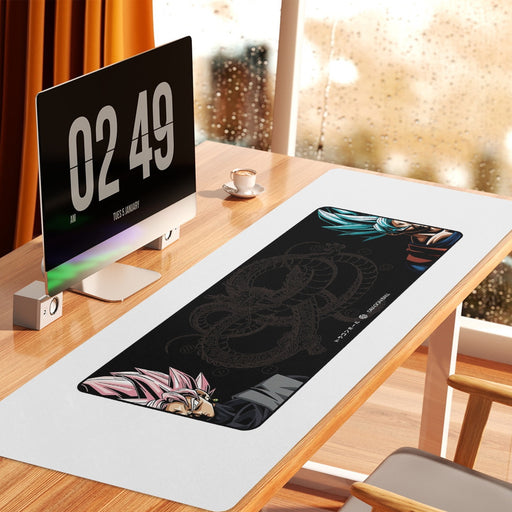
Sleek Goku Mousepad Dragon Ball Z
In stockAbout Elevate your gaming or work setup with the "Sleek Goku Mousepad Dragon Ball Z." This stylish mousepad features a captivating design showcas...
View full detailsOriginal price $36.99 - Original price $36.99Original price$36.99$36.99 - $36.99Current price $36.99 -
 Original price $5.00 - Original price $20.99Original price $5.00$15.99 - $27.99$15.99 - $27.99Current price $15.99
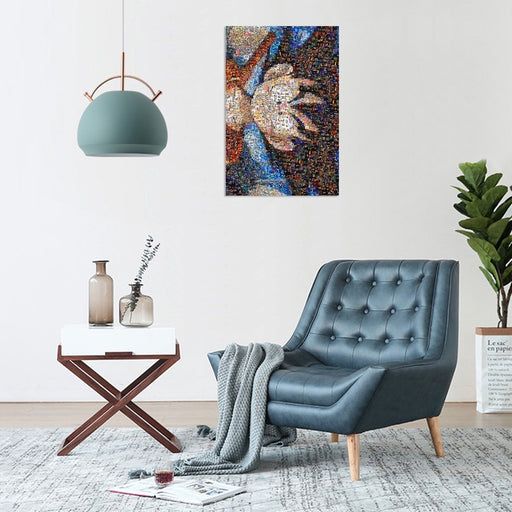
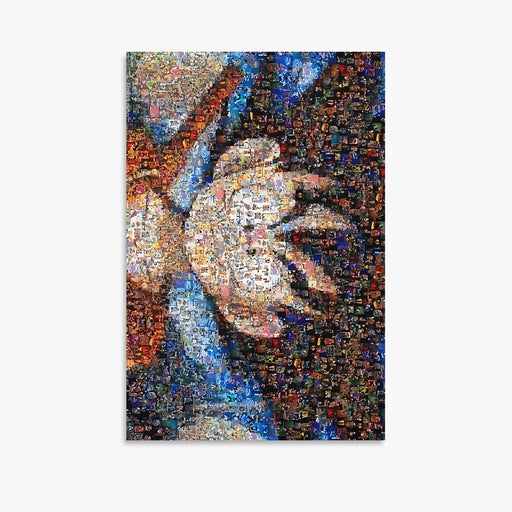
Dragon Ball Z Hot Anime Art Silk Poster Canvas Print
In stockAbout Transform your space into an epic battleground with the "Dragon Ball Z Hot Anime Art Silk Poster Canvas Print." This stunning artwork capture...
View full detailsOriginal price $5.00 - Original price $20.99Original price $5.00$15.99 - $27.99$15.99 - $27.99Current price $15.99 -
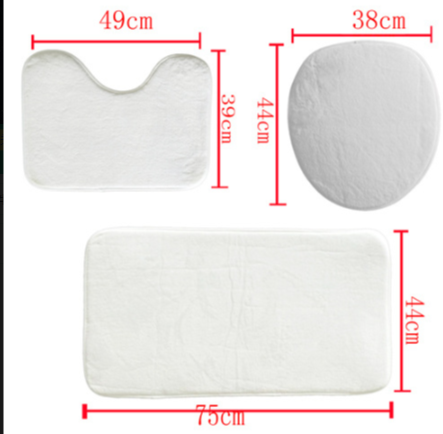
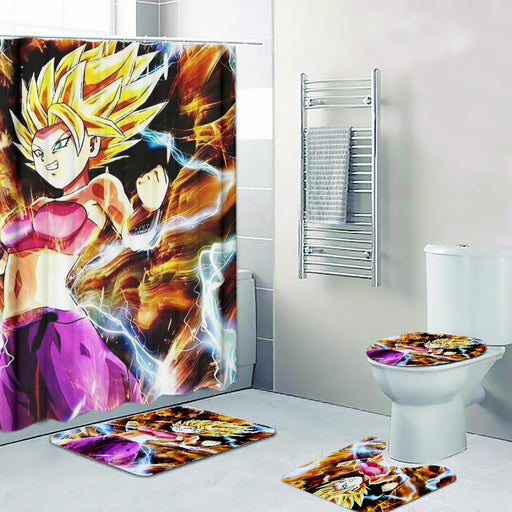 Original price $74.99 - Original price $74.99Original price $74.99$74.99$74.99 - $74.99Current price $74.99
Dragon Ball Super Caulifla Super Saiyan 2 Epic Casual Four-piece Bathroom
Introducing the Dragon Ball Super Caulifla Super Saiyan 2 Epic Casual Four-piece Bathroom Set – a fusion of style and Saiyan strength for your bath...
View full detailsOriginal price $74.99 - Original price $74.99Original price $74.99$74.99$74.99 - $74.99Current price $74.99 -
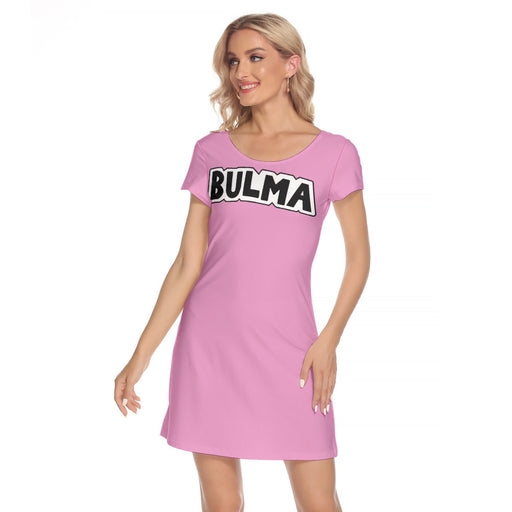
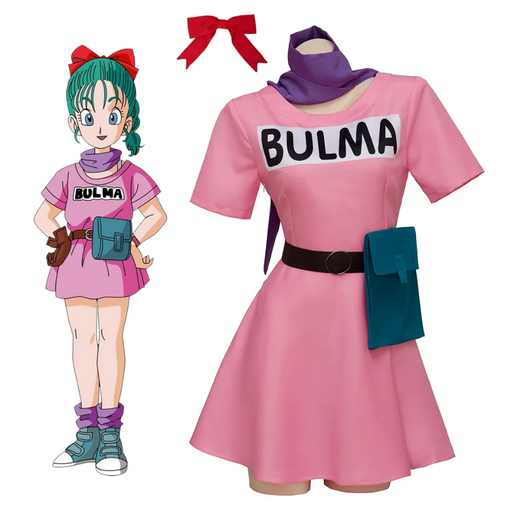 Original price $35.99 - Original price $35.99Original price $35.99$35.99$35.99 - $35.99Current price $35.99
Bulma Dress: Your Versatile Wardrobe Game-Changer
Embark on an adventure of style and comfort with our Bulma Dress – the ultimate everyday casual wear that effortlessly transforms into the most cre...
View full detailsOriginal price $35.99 - Original price $35.99Original price $35.99$35.99$35.99 - $35.99Current price $35.99


Leave a comment