
How to Cut a Muscle Shirt: A Step-by-Step Guide

Are you tired of your plain old muscle shirt and want to add some style to it? Well, you've come to the right place! Cutting a muscle shirt is a great way to give it a new look and make it more fashionable. Whether you want to create a trendy distressed look or simply want to show off your muscles, we've got you covered. In this step-by-step guide, we'll walk you through the process of cutting a muscle shirt to perfection.
What You'll Need
To get started, gather the following items:
- A muscle shirt
- A pair of fabric scissors
- A ruler or measuring tape
- A fabric marker or chalk (optional)
Step 1: Choose the Style
The first step in cutting a muscle shirt is deciding on the style you want to create. There are several popular styles that you can choose from:
- The Basic Cut: This style involves cutting off the sleeves of the muscle shirt to create a tank top. It's a classic look that is simple yet stylish.
- The Racerback: If you want to show off your shoulders and back muscles, the racerback style is perfect. It involves cutting the sleeves and the back of the muscle shirt to create a T-shape.
- The Distressed Look: For a trendy and edgy look, you can create a distressed muscle shirt by cutting small holes or slits in strategic places. This style works best with a looser fitting shirt.
- The Cropped Top: If you prefer a shorter length, you can cut the bottom of the muscle shirt to create a cropped top. This style is great for pairing with high-waisted pants or skirts.
Choose the style that best suits your preferences and the occasion you plan to wear the shirt for.
Step 2: Mark Your Measurements
Once you've decided on the style, use a ruler or measuring tape to mark the measurements on your muscle shirt. This step is important to ensure that your cuts are precise and symmetrical.
If you're going for the basic cut or racerback style, measure how much of the sleeves you want to remove. Use the fabric marker or chalk to make small marks at the desired length.
If you're aiming for the distressed look, mark the areas where you want to create holes or slits. You can be as creative as you like with the placement of these marks.
If you're going for the cropped top style, measure how short you want the shirt to be and mark the length accordingly.
Step 3: Start Cutting
Once you've marked your measurements, it's time to grab your fabric scissors and start cutting. Remember to take your time and cut slowly and carefully to ensure a clean and precise cut.
If you're cutting off the sleeves, start by making small snips at the marked length and then cut along the line. Repeat the process on the other side to ensure symmetrical cuts.
If you're creating a racerback style, start by cutting off the sleeves as mentioned above. Then, cut a straight line down the center of the back of the shirt, starting from the collar and stopping at the desired length. Finally, make two diagonal cuts from the edge of the straight line to the edge of the shoulder area to create the T-shape.
If you're going for the distressed look, use your fabric scissors to carefully cut small holes or slits at the marked areas. You can also use your fingers or tweezers to pull at the threads around the holes to create a more frayed look.
If you're creating a cropped top, cut along the marked line to remove the desired length from the bottom of the shirt.
Step 4: Try It On
Once you've finished cutting, try on your newly transformed muscle shirt to see how it fits and looks. Make any necessary adjustments or touch-ups if needed.
Remember, practice makes perfect! If you're not satisfied with your first attempt, don't be discouraged. Keep experimenting with different styles and cuts until you achieve the look you desire.
Step 5: Finishing Touches
After cutting your muscle shirt, you may want to add some finishing touches to enhance its style. Here are a few ideas:
- Distressing: If you want to achieve a more distressed look, you can use sandpaper or a cheese grater to roughen up the edges of the cuts.
- Seamless Look: If you prefer a seamless look, you can use a needle and thread to secure the edges of the cuts and prevent them from fraying.
- Decorative Touches: You can add studs, rhinestones, or fabric patches to further personalize your muscle shirt and make it stand out.
Get creative with your finishing touches and have fun customizing your muscle shirt to reflect your unique style.
Where to Find Dragonball Merchandise
If you're a fan of Dragonball and want to show off your love for the series, look no further than our online store.
At DBZ Store, we offer a wide range of Dragonball merchandise, including t-shirts, hoodies, action figures, and more. Whether you're a fan of Goku, Vegeta, or any other character from the series, you'll find something that suits your style.
Our merchandise is made from high-quality materials and features vibrant designs that will make you stand out from the crowd. Shop with us today and unleash your inner Saiyan!
So, what are you waiting for? Grab a muscle shirt, follow our step-by-step guide, and give it a stylish makeover. Whether you're attending a music festival, hitting the gym, or simply hanging out with friends, your newly cut muscle shirt will be sure to turn heads.
Best Sellers
-
Original price $37.98 - Original price $37.98Original price$37.98$37.98 - $37.98Current price $37.98
Dragon Ball Z - Vegeta Badman Shirt
In stockVegeta the Prince of Saiyans wearing a pink shirt? How is it possible? Bulma is really cheeky! Anyway, unlike a combat outfit, this Vegeta Badman S...
View full detailsOriginal price $37.98 - Original price $37.98Original price$37.98$37.98 - $37.98Current price $37.98 -
Original price $36.99 - Original price $36.99Original price$36.99$36.99 - $36.99Current price $36.99
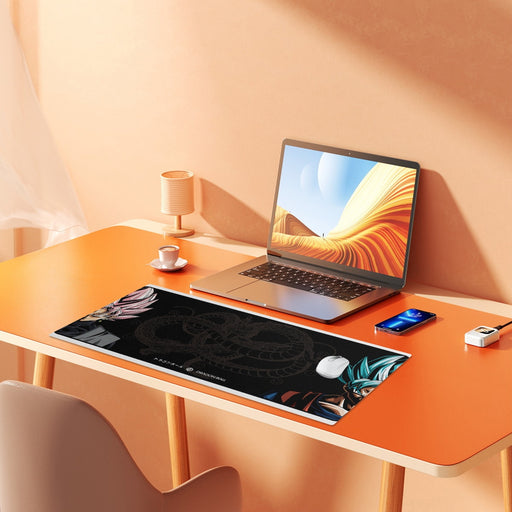
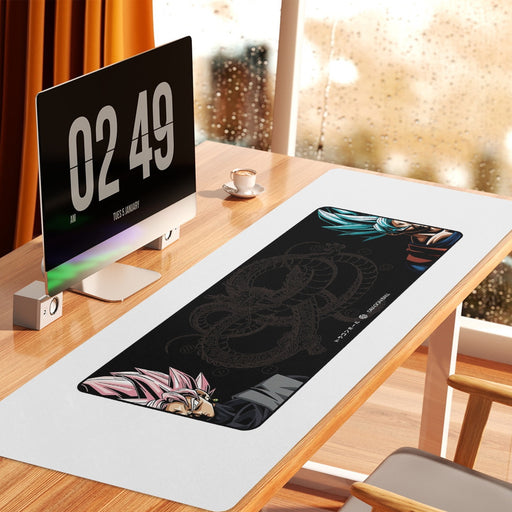
Sleek Goku Mousepad Dragon Ball Z
In stockAbout Elevate your gaming or work setup with the "Sleek Goku Mousepad Dragon Ball Z." This stylish mousepad features a captivating design showcas...
View full detailsOriginal price $36.99 - Original price $36.99Original price$36.99$36.99 - $36.99Current price $36.99 -
Original price $5.00 - Original price $20.99Original price $5.00$15.99 - $27.99$15.99 - $27.99Current price $15.99
Dragon Ball Z Hot Anime Art Silk Poster Canvas Print
In stockAbout Transform your space into an epic battleground with the "Dragon Ball Z Hot Anime Art Silk Poster Canvas Print." This stunning artwork capture...
View full detailsOriginal price $5.00 - Original price $20.99Original price $5.00$15.99 - $27.99$15.99 - $27.99Current price $15.99 -
Original price $74.99 - Original price $74.99Original price $74.99$74.99$74.99 - $74.99Current price $74.99
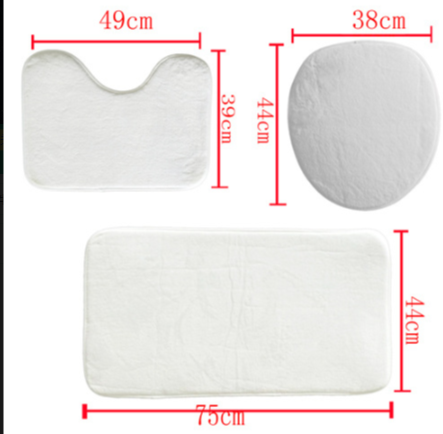
Dragon Ball Super Caulifla Super Saiyan 2 Epic Casual Four-piece Bathroom
Introducing the Dragon Ball Super Caulifla Super Saiyan 2 Epic Casual Four-piece Bathroom Set – a fusion of style and Saiyan strength for your bath...
View full detailsOriginal price $74.99 - Original price $74.99Original price $74.99$74.99$74.99 - $74.99Current price $74.99 -
Original price $35.99 - Original price $35.99Original price $35.99$35.99$35.99 - $35.99Current price $35.99
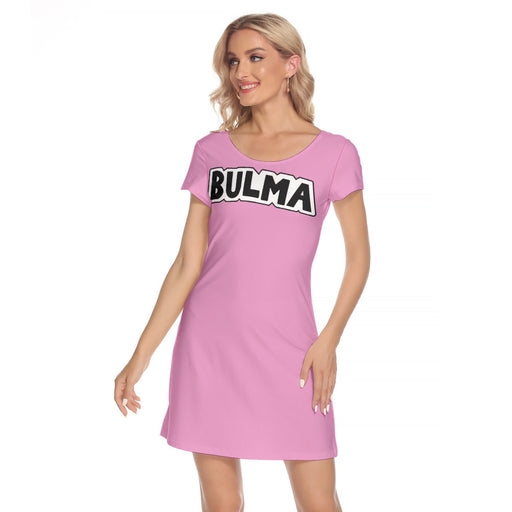
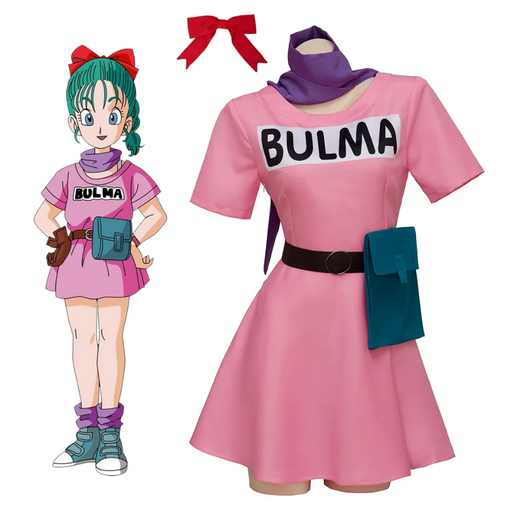
Bulma Dress: Your Versatile Wardrobe Game-Changer
Embark on an adventure of style and comfort with our Bulma Dress – the ultimate everyday casual wear that effortlessly transforms into the most cre...
View full detailsOriginal price $35.99 - Original price $35.99Original price $35.99$35.99$35.99 - $35.99Current price $35.99





Leave a comment